What’s The Best Way To Start A Campfire?
In the pure, cool air of an evening spent outside, a question arises just as naturally as the setting sun: “What’s the best way to start a campfire?” This is more than just a question about starting a fire; it’s about creating an integral part of the camping experience, a source of warmth, light, and companionship.
A campfire starts long before the first spark is struck. It all begins with recognizing your surroundings and the resources at your disposal. There are numerous approaches, each with its own set of advantages and disadvantages, appropriate for certain situations and experiences.
Starting a Campfire: A Story of Fire and Smoke.
Creating a fire appears simple enough. You’ll need heat, fuel, and air. However, actually starting the fire can be challenging. Wind can blow out your matches or lighter. Rain can dampen your spirits and soak your wood. The lack of good dry fuel or wood can turn what should be a relaxing activity into a hard one. Furthermore, environmental rules and the ethics of leave-no-trace camping necessitate that we examine where and how we create fires.
The Best Method
I’ve developed a dependable technique—the teepee fire lay—with the help of fire starters and careful planning after testing it in various wild settings, including the wet woods of the Pacific Northwest and the dry scrublands of the Southwest.
Here’s How To Build a Teepee Campfire
1. You’ll need to gather the needed materials.
Fine Tinder: This is the basis for your campfire. Things you can find in the grass or underbrush include dry leaves, and pine needles. You could also bring wood shavings or commercial tinder. They are all effective. Whatever you use, it has to light easily and burn hot. Do not use gasoline or similar chemicals.
Kindling: Kindling is usually small sticks and twigs, preferably about the size of your finger. They must snap easily and should be dry. These are the layer between your tinder and larger wood.
Fuel: Larger pieces of wood that will burn for a long period of time and generate heat. These logs or branches should be dry and as thick as your wrist or more.
2. Choose the area for your fire circle
Campfires should be built in a circular shape that allows enough room to cook or get warm. Depending on the size of your group, it is usually two to three feet across. Choose a place for your campfire circle that is not under overhanging tree branches, away from bushes and brush, and that has at least a 10-foot area around the campfire circle in every direction, and that’s free of things that can catch fire. If there isn’t one, then clear one before you build your fire.
3. Prepare the area
- Remove all dry grass, dead leaves and small pieces of wood or twigs from the ten foot area. Pro Tip: You can use these items to help start your campfire. If there is already a pre-built fire pit, use it.
- Once you decide on the spot, arrange hand-sized, or slightly larger, rocks in a circle around the spot. This is to contain the fire. Try to make sure there are no holes in your stone wall. If you can’t find enough rocks, dig a trench around the fire circle that is at least eight to ten inches wide and three or four inches deep.
- If the ground is wet, from rain or snow, build a fire bed on the ground inside your campfire circle, made of green wood or stones. This will protect your fire from moisture by raising it up off of the wet ground.
4. Build your fire
- Make a loose pile of the tinder material (the dry twigs, leaves, etc.) in the middle of your campfire circle. It should be about the size of two fists combined. Do not pack it together. Leave it loose.
- Now use the kindling (the finger sized twigs or wood) to build a teepee around the tinder. Leave an opening on the side facing the wind to allow air to enter your fire.
- After you you place your kindling, use the larger logs (the arm sized wood) to build another teepee shape around the kindling teepee. Be careful not to knock down the kindling teepee.
5. Light the Fire
Use matches, a striker, or a lighter to light the tinder through the opening you left. The tinder should burn first. Once it is on fire, it should catch the kindling on fire, which will then catch the larger wood on fire. If the tinder does not ignite, gently blow at the fire’s base to stimulate it.
6. Maintain Your Campfire
In order to keep your campfire going, add wood as needed. Continue to add larger logs to maintain the fire. Always leave adequate space between the logs to allow ventilation.
Essentials for Building a Campfire
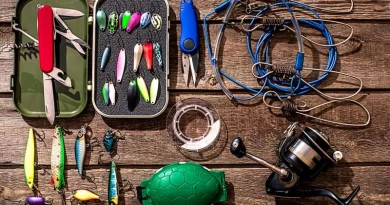
You’ll need a few things: something to strike a flame—matches, a lighter, or any reliable fire starter. You’ll also want an axe or a hand saw for splitting logs into more manageable pieces. And always have water or a pile of dirt at hand to douse the flames when the night is done.
Remember that a campfire is more than just a way to ward off the chill or cook your meals. It’s a primal gathering place that takes us back to the roots of our existence. It reconnects us with something deeper within ourselves and draws us closer to the raw, untamed beauty of the wilderness.
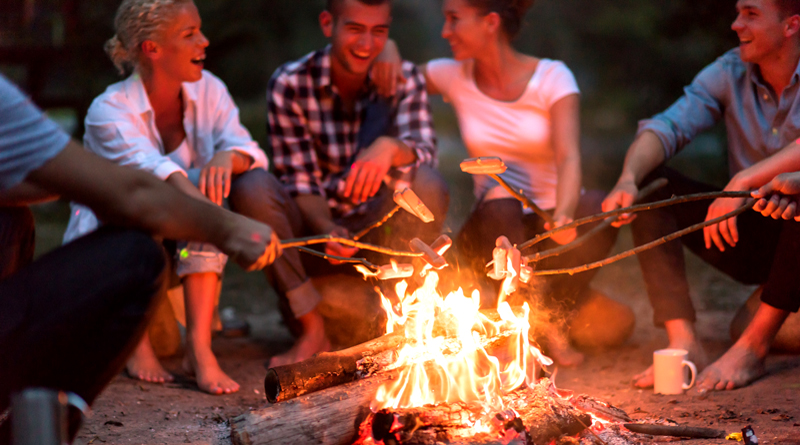
Every spark and soft crackle of wood as it burns spins a narrative in the dark—a story filled with hushed confidences, shared mirth under the celestial canopy, and the outlines of friends and family drawn close by the dance of the flames. When you light your next campfire, remember, you’re not merely igniting kindling. You’re breathing life into a moment that will linger warmly in your memory, enduring well past the dying light of the fire’s final embers.

